by wmcnair wmcnair

How do I estimate battery run-time for my heated device?


Overview

One of the most frequently asked questions today by innovators and entrepreneurs looking to design the perfect consumer comfort product is: can I power my gadget with a battery? This post will help you understand the requirements and challenges of using battery power to run your heated device.   It all boils down to the questions how big, how hot and how long?   Since the choices for batteries are virtually limitless, the purpose of this post is to arm you with the primary information you must have in order to consult a battery specialist, who can help you with your selection.

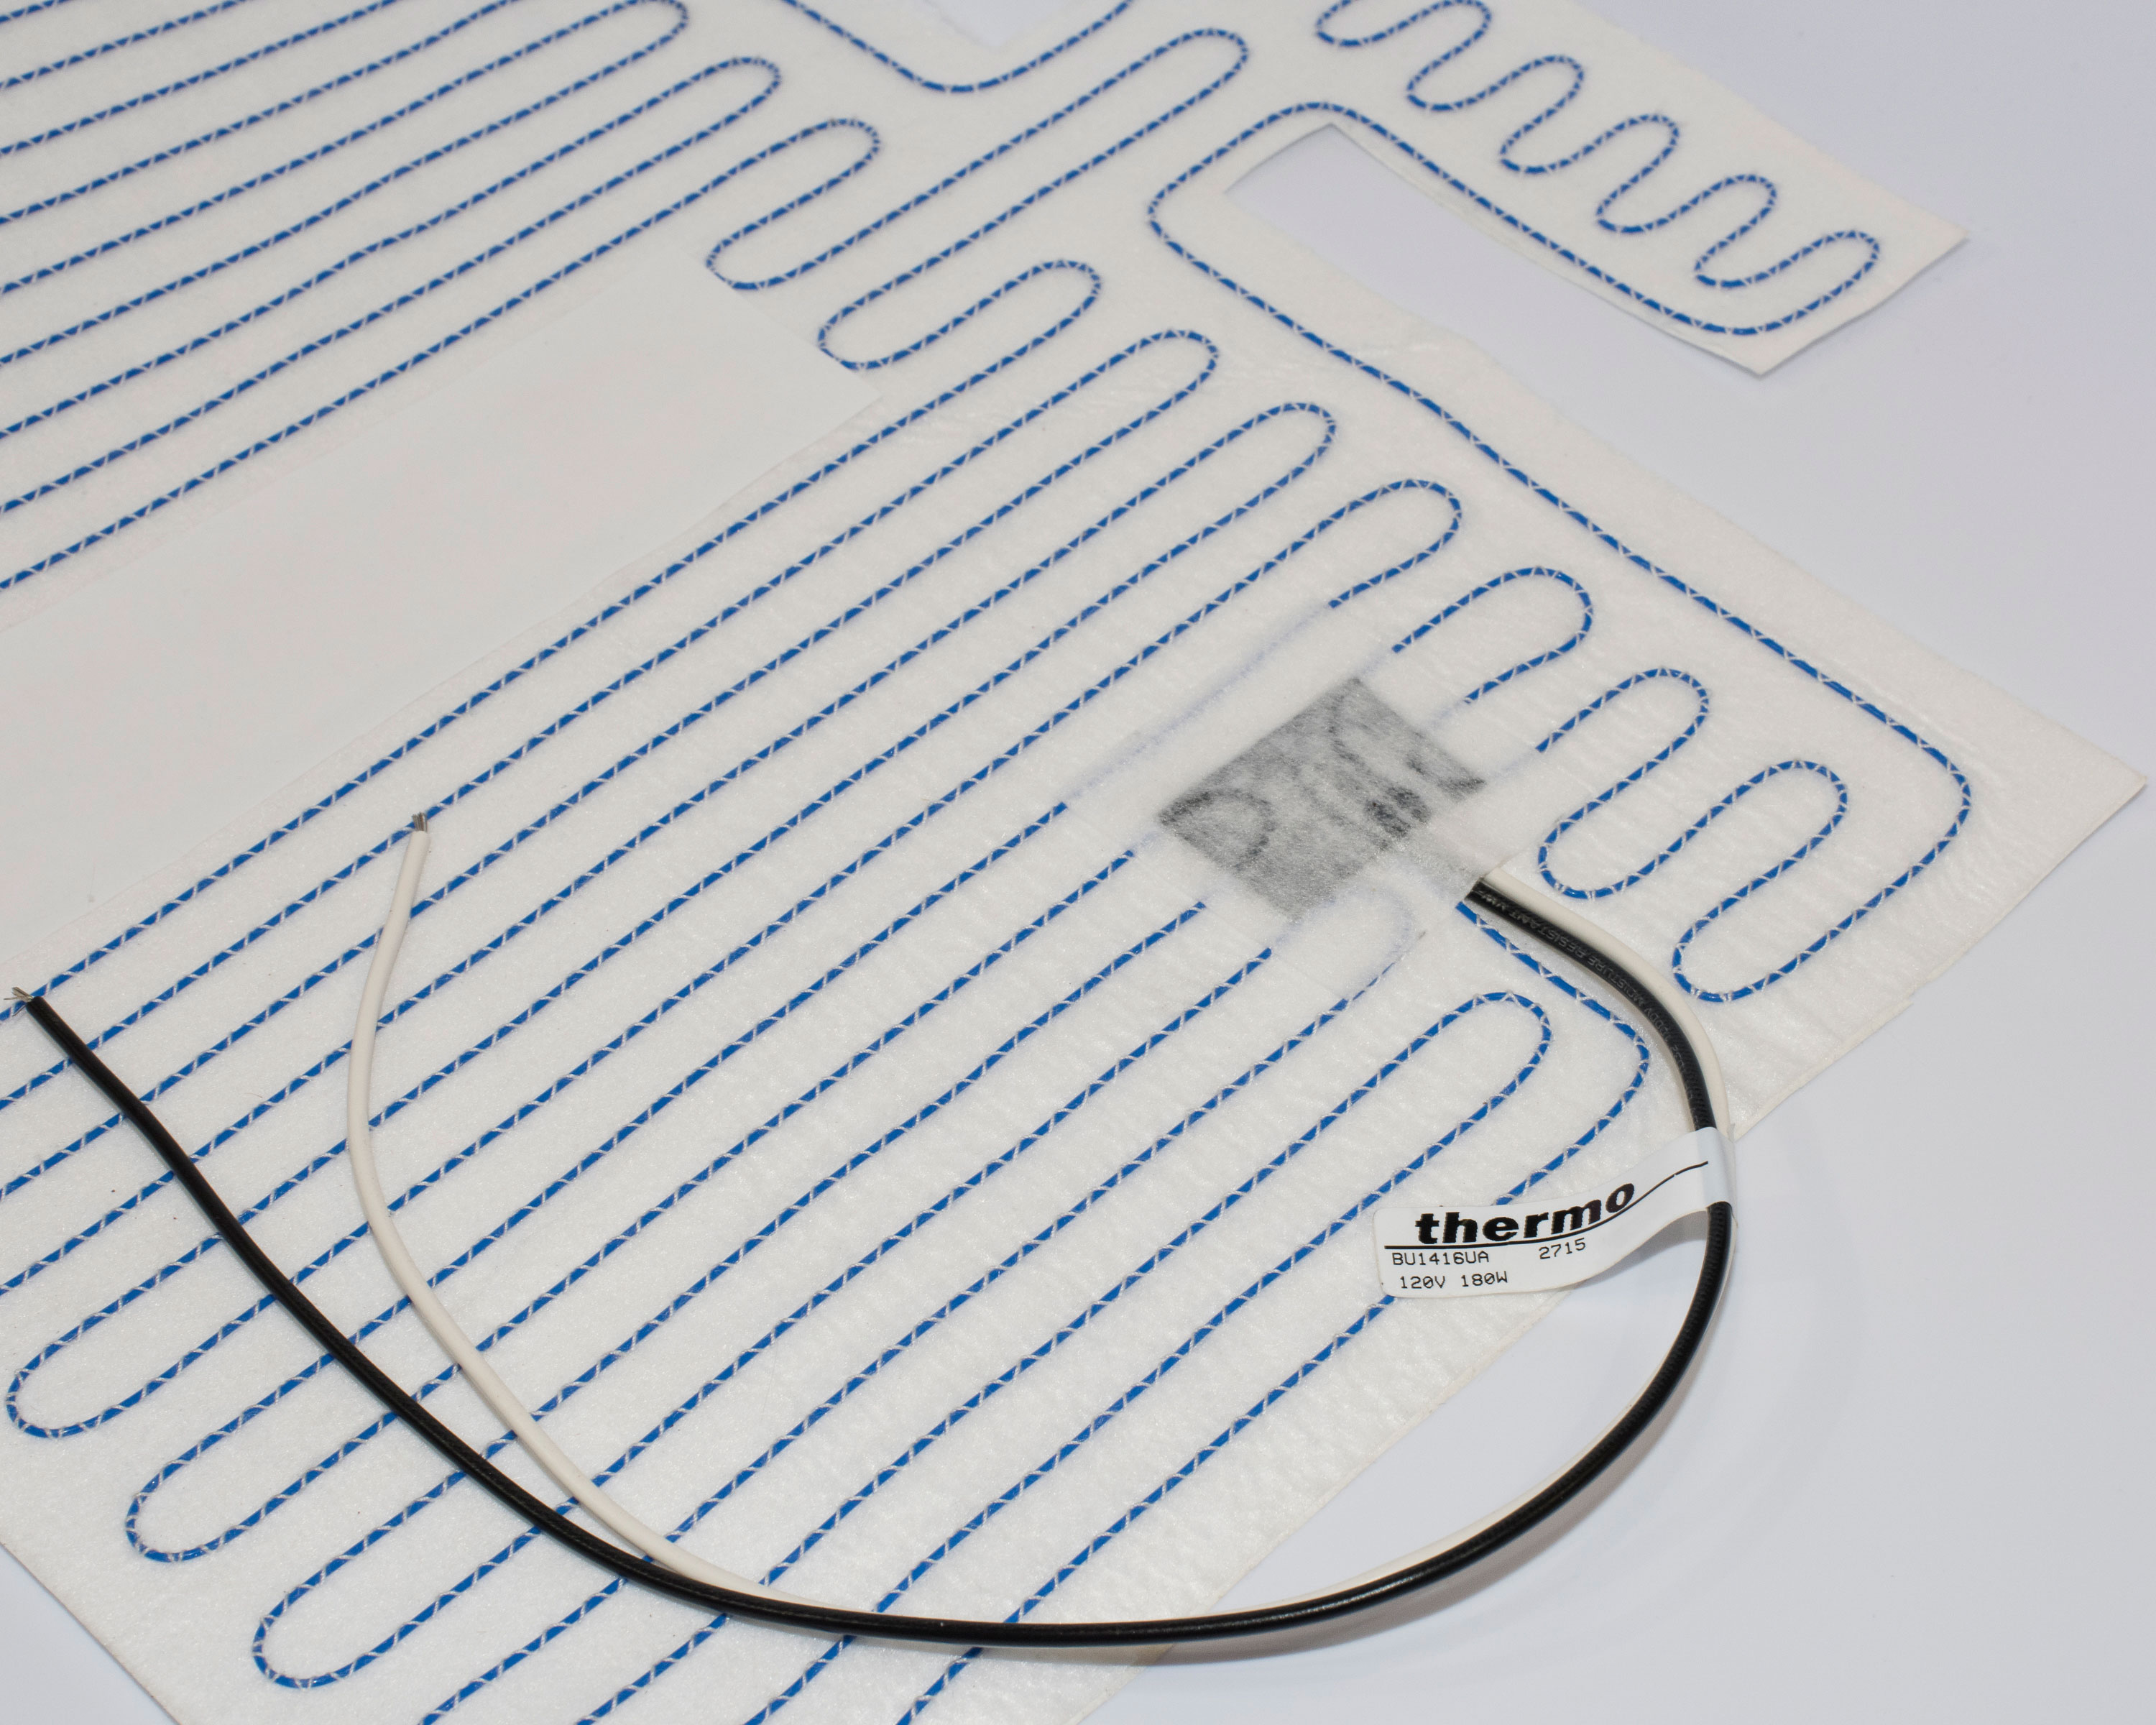
Let’s review the basics. Heat generation is a function of watt density, ambient conditions and thermal losses (or gains). Watt density is the amount of wattage produced divided by the area producing the wattage, referred to most frequently as watts per square inch.

A real world example:   I’ve developed a mobile warming tray and now I want to sell it to Michigan fans for football games. The tray is 8 inches x 8 inches and uses polymer thick film heater technology. I want the heater to get to about 165°F and be able run for about two and a half hours. It will be insulated, have a thermostat and needs to run off a battery. What now?

STEP 1 – Set a target temperature

When it is all said and done, establishing the maximum operating temperature of the item you are designing is the primary driver in evaluating your options. You don’t need to be dead on with this, but the more variables you consider, the more accurately you will be able to predict the outcome. Will there be thermal influences such as insulation, air flow, or large thermal masses adding or taking away from the heater’s capabilities?

For our example, let’s choose a comfortable operating temperature of 60 Degrees

STEP 2 – Estimate the Wattage

After you have determined the temperature you would like to achieve in your device, you can determine the watts per square inch that you will require by conducing some simple tests (refer to our blog post “How to determine the watt density required in my application” for instructions on conducting a simple test for this).

Another way to get a very general idea about what the wattage you may need is to look at the chart below, select a desired operating temperature and note the corresponding watt density. Note that the chart depicts heat output in open air on aluminum, so consider your environment and adjust accordingly.

Our Heated Seat Cushion will be insulated by the cushion from below (suggesting a lower watt density may be acceptable) and controlled by a thermostat (suggesting a higher watt density may be acceptable for rapid heat-up) so we’ll split the difference and begin our testing with the standard baseline for 60 degrees F. Looking at the chart below, 60F corresponds to approximately 0.5 watts per square inch.

Wattage calculation  

8 IN x 8 IN = 81 SQ IN

64 SQ IN x 0.75 WPSI = 48 WATTS  (estimated to achieve 165 degrees F in the application).

STEP 3 – Understanding Amp-hours

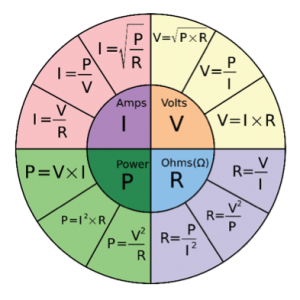
Determining the continuous load, or wattage, that is required is most of the battle, so now that we have a process for that, we can move on to preparing for our conversation with a battery specialist. Much like the term “watt-density” is used by heater designers, the term used in the battery world is “amp-hours.”   An amp-hour is a unit of measurement used to express a battery’s capacity over time. This is calculated by multiplying the current flow (in amps) by the discharge time (in hours).

In order to be able to calculate the amperage for our battery, you will be asked to settle on a voltage. Good news! Heaters can be designed to very wide range of voltages.

In our example, we’ll specify a 12V battery as a starting point. Remembering that wattage (P) is equal to voltage (V) times current (I)        

P = V x I   or   I = P/V

I = 48 watts / 12 volts

I = 4 amps

Logic would suggest that a 12V battery with a 10 aH rating would last about 2.5 hours when the load is drawing 4 amps, correct? Well, that’s sort of true. There are things called temperature fluctuation and Peukert’s Law that says this is not exactly true – but we’ll leave the details of this subject to the battery experts. Suffice it to say that you can always count on the battery lasting shorter than you anticipate…


STEP 4 – Consult a Battery Specialist

This is where the process gets interesting and you will need to consult with a battery specialist to determine the best combination of size, voltage and endurance for your application. Be prepared to discuss:

  • The size of the space available for the battery
  • The wattage you calculated above
  • Voltage options that work for you and your controlling devices (if necessary)
  • The minimum endurance (in hours) that you need the battery to produce.

There are thousands of combinations and technologies available, so now that you are armed with the information you need to provide your battery specialist, selecting the right battery should be much easier. If you would like to discuss your application requirements further, please call to speak to one of our Application Engineers at 864-295-4811.


by wmcnair wmcnair

Understanding Watt Density in Heater Design

Whether you are the Chief Product Development Engineer for a Fortune 500 company or an Entrepreneur with a great idea for a heated finished product, determining what you need from your heater can be a daunting task.  Fortunately, it doesn’t have to be that way. Below we will outline the steps necessary for the most time and cost effective method to answer the fundamental question about heating elements – what wattage will I need in my application?

Before we begin, it is important to note that Watt density is the central concept upon which flexible heaters are selected, designed and perform. Watt density is simply the wattage output of a heater relative to its size, typically expressed in the US in watts per square inch (wpsi). For example, a 10 inch by 10 inch heater which is 200 watts would have a watt density of 2 wpsi. All things being equal, the watts per square inch is the primary influence that determines the heaters operating characteristics in your application.

Determine Watts per Square Inch required in your application.

Step One: Establish a baseline:   Before setting up a test protocol, identify the basic performance characteristics you are looking for from the heater in your application. These typically include operating temperature, ambient conditions for the application and time required to reach the desired operating temperature.

Step Two: Recreate the environment:   As you set up your testing area, make sure to consider the actual operating environment and try to replicate that as closely as possible. For example, make sure that your test area includes adequate air-flow if the application is used in an exposed environment, or conversely, that an insulated environment is used if the heater is to be in an enclosure. Incorporate insulation, substrates and other fixtures or objects that might influence the thermal properties of the heater.

Step Three: Gather Test Equipment:   At this point, it is not always necessary to have an exact prototype made to fit your application – function is paramount.   The basic equipment needed to evaluate watts per square inch include:

  • Variable Power Supply – Required to “dial in” the required voltage.
  • Digital Multi Meter – To measure initial resistance of the heater
  • Temperature measuring devices – can also be Digital Multi Meters with thermocouple if so equipped – needed to measure surface temperature of heater and object(s) to be heated.
  • Heating Element – choose the type depending on estimated maximum operating temperature, flexibility requirements, etc. Also, get the size that most closely represents the size that will be needed, if known.   Get a lower voltage sample heater (48V or less) so that you can carefully increase the voltage beyond the design voltage of the heater. This allows you to exceed the design watt density of the sample, which may be required in your application.

Step Four: Test to find the required Watt Density:

NOTE: NEVER LEAVE HEATER OR TEST AREA UNATTENDED WHILE HEATER IS OPERATING!  

  • Make a note of the sample heater’s dimensions and initial resistance, as well as ambient temperature.
  • Incorporate the heating element as required in your application.
  • Place one thermocouple on surface of heater, the other where you would like to measure the performance in the application.
  • Place Variable Power Supply in the OFF POSITION and hook up the heater wires.
  • Put the Variable Power Supply on its lowest setting, turn on and note the input voltage.
  • Allow heater to stabilize and note temperatures.
  • SLOWLY increase Voltage incrementally until desired temperature is reached and stabilizes.
  • Note final input Voltage and Amperage (if available).


Step Five: Calculate the required watt density in your application using the following formula:

WPSI = / total square inches in the heater.


watt-density

You now have the information required to determine the basic heater performance requirements.   It is now time to contact your Applications Engineer to discuss your findings, finalize your heater options and move to the application specific prototyping stage. If you would like to discuss your application requirements further, please call to speak to one of our Application Engineers at 864-295-4811.

by wmcnair wmcnair

Understanding Positive Temperature Coefficient or PTC in Real World Applications

There has been a lot of buzz surrounding the term PTC, and for good reason. The primary interest revolves around the basic question – “can I eliminate a thermostat if I use a PTC heater?” Well, the answer is yes, maybe. First, let’s review the basic characteristics of PTC heating technology.

PTC technology offers a unique set of performance characteristics such that, when the temperature of the heater is high, the wattage is reduced and vice-versa.   In other words, PTC heaters power themselves down to a minimum operating wattage to prevent overheating, often eliminating the need for external over-temperature controlling devices such as a thermostat or thermal fuse.   As an example, and depending on the design, a 12 volt 30 watt heating element at -10°C may self-regulate to approximately 15 watts when the heater reaches 55°C, and continue regulating down to 8 watts at 65°C.

As you can see from the Resistance Magnification Factor graph above, the positive increase in resistance is accelerated at higher temperatures, providing the desired over-temperature protection.

Many Product Design Engineers then ask, “can we dial in the curve to regulate the heater at a lower temperature?” Unfortunately, that capability is not yet available, but you can design to a desired “equilibrium” temperature.   An equilibrium temperature can be achieved by identifying the wattage at a given ambient temperature that is required so that the heater itself stabilizes at that temperature. (For more information about how to determine this, see our Blog Post “How to determine the wattage needed in my application”).

 Understanding PTC in Real World Applications

Determining whether PTC is right for your application

Now that the technical information is behind us, consider the following key factors to help determine if PTC is the right choice for your application:

  • Rapid Heating:   If you are looking for maximum wattage output at lower temperatures, PTC heaters have the lowest resistance at startup, providing that extra kick start before regulation begins.
  • Uniform heat: If even heat distribution is important to your application, PTC heating elements provide the maximum heat producing surface. They are designed using wide-geometry circuits, meaning they employ hundreds of miniature resistors, spaced as needed across the heater surface.
  • Light Weight and Easy to install: PTC heaters are screen printed on a polyester substrate with a peel and stick adhesive back, ultra-thin and very light weight.
  • Operating Temperature: If the operating temperature of the heater in the application is 80°C or below, PTC may be a viable option. Above 80°C, the self-limiting properties of PTC will, in effect, regulate the heater down.
  • Self-Regulation: The self-regulating properties of PTC inks are non-specific, meaning that it is not possible to dial in a precise “shut-off” temperature. If a precise shut-off temperature is required, a thermostat or other external controlling device may be added.
  • Voltage Requirements: PTC inks are primarily designed for lower voltage applications (below 48V), but with adequate development and testing, higher voltages may be achievable.

In summary, the self-regulating properties of PTC heaters provide a thin, light weight solution with a unique built in safety feature, uniform heat distribution and maximized ramp-up capabilities. If you would like to discuss the benefits of evaluating PTC heating technologies in your application, please call to speak to one of our Application Engineers at 864-295-4811.


by wmcnair wmcnair

UltraFlex is now UL rated

thermo Heating Elements, LLC  is pleased to announce that after months of development and testing, the new innovative product line Ultraflex is now UL rated.

by wmcnair wmcnair

thermo Heating Elements, LLC introduces UltraFlex to its product line

thermo Heating Elements, LLC is excited to annouce the addition of UltraFlex to its product line.  UltraFlex is a cost-effective, resilient, and highly flexible heating system that can be designed in a wide range of shapes and sizes and fabricated to very precise specifications.  While customizable for use in a variety of industries, UltraFlex heaters are typically manufactured using multi-stranded, insulated corrosion resistant wire, resulting in a heater with unparalleled durability, flexibility, and softness.  UltraFlex is a product able to withstand continuous flexing and applicable to multiple flexing applications.  It can also be molded to best fit the final product as well as be laminated or layered to the customer’s specifications.  UltraFlex has a maximum operating temperature of 302F (150C) and is available in sizes up to 28″ X 44” with a maximum watt density of 15 watts per square inch and voltages up to 300VAC.  In order to meet the high demands of today’s engineers, the UltraFlex product line has been created to combine design flexibility with rapid prototyping, providing highly customized solutions to the most challenging situations.  Please contact our sales engineers for more information.


thermo Heating Elements, LLC

273 Langston Road Piedmont, SC 29673

PH:  864-295-4811

F:  864-295-4899

info@thermo-llc.com

thermo-llc.com

by wmcnair wmcnair

thermo Develops High Temperature Ceramic Heaters

thermo Heating Elements, LLC has set a precedent in the industry for continuing to develop new technologies to meet customer demands. thermo’s latest technology, the Ceramic Infrared heating element, was created in response to a need for a higher temperature heater with maximum efficiency that still maintains durability and design flexibility. These heaters are capable of transferring up to 90% of their input as radiant energy, and maximum efficiency is reached when the emitted wavelength and the absorption spectrum of the material to be heated are optimized.

Ceramic elements are used when high temperatures are required, fast responses or temperature gradients are needed or products need to be heated in certain areas in a targeted way. Typical operating temperatures range from 300°C to 700°C (572°F – 1292°F) producing infrared wavelengths ideal for caramelization of breads, warming and heating of foods, curing of coatings, and softening or welding of plastics.